

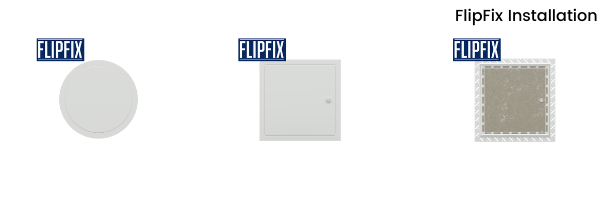
How to Install a FlipFix Access Panel
Flipfix access panels have been said to reduce access panel installation times by up to 80%, due to their simple installation. We thought it would be worthwhile demonstrating just how credible this statistic is, by taking you through the installation steps.
FlipFix Installation Without an Existing Hole
You will need: a pencil, a drill, a saw implement for plasterboard and a screwdriver.
There is no need for any screws or a tape measure.
- The beauty of the standard FlipFix panel sizes is that they come with a pop-out template, which you can use to mark out your structural opening size on your plasterboard. This ensures that your panel fits perfectly, without a tape measure.
- Drill the corners of the marked out area, then use a suitable implement, such as a pad saw, to cut into the plasterboard, along your markings.
- This will create the structural opening, to allow you to insert the access panel in simply.
- Position the FlipFix fitting devices so you can’t see them, then screw the top and bottom screws into place.
And that’s it!
Retrofitting a FlipFix Access Hatch
Simply insert the panel into your opening and screw with the FlipFix fittings in place, like in steps 3 and 4 above.
You will need to ensure that your panel sizes is 5mm smaller than your structural opening size.
For example, for a 600x600mm access panel, you will need a 605x605mm structural opening.
For a visual demonstration, you can watch our video here.
Important Information about FlipFix panels
These access panels are only suitable for plasterboard walls & ceilings.
Our 1 hour and 2 hour fire rated FlipFix access panels have been fire tested in plasterboard walls & ceilings, to BS EN 1634-1: 2014.
You can purchase all of the FlipFix standard sizes here.
For bespoke access panel and loft hatch orders, please contact us on 01752 690997. You can read more about our bespoke service here.